How to Safely Replace Broken Camera Parts in Your Surveillance System
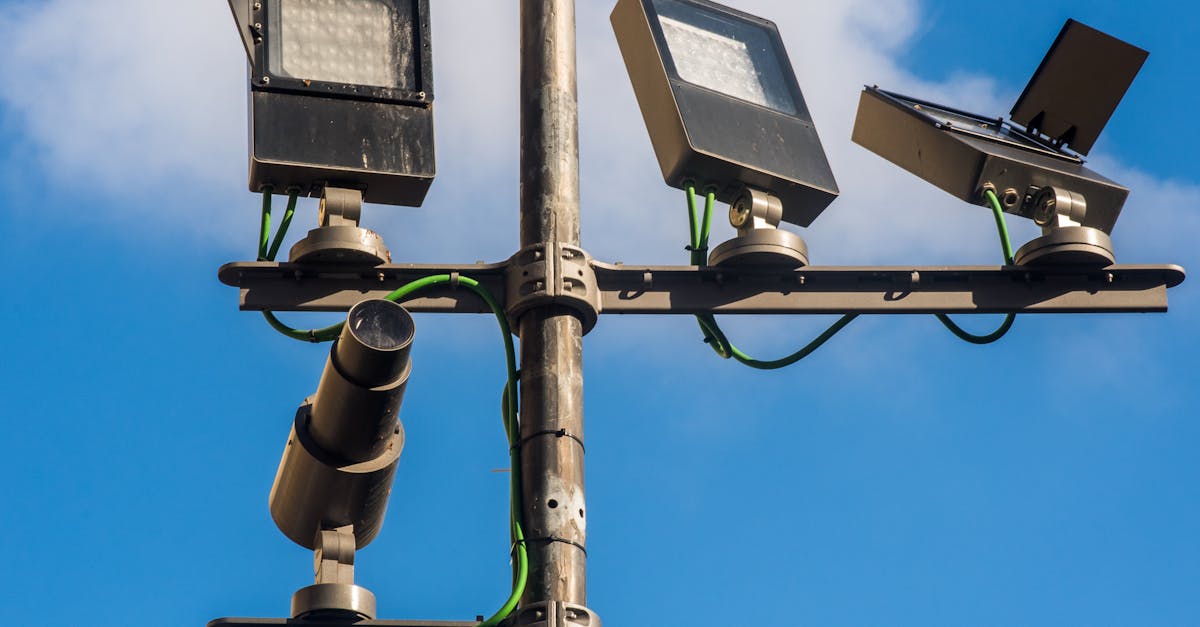
Table Of Contents
Step-by-Step Replacement Process
Begin by gathering the necessary tools and replacement parts for your camera. Ensure you have a screwdriver set, pliers, and any specific components needed for the camera model. It’s wise to refer to the manufacturer’s manual to identify the required parts and follow safety protocols. Power down the surveillance system completely to eliminate the risk of electrical shock. Disconnect the camera from its mount and any wiring, taking care to note where each connection belongs for easy reassembly.
Once access to the damaged part is secured, carefully remove it from the camera housing. Pay attention to how the component is fitted to assist in placing the new part correctly. Install the replacement, ensuring all connections are firm and secure. After replacing the necessary parts, reinstall the camera to its original position. Reconnect the wiring, making sure to follow the notes taken during disassembly. Power the system back on and monitor for any signs of functionality issues.
Detailed Guide for Each Camera Part
Replacing camera parts in a surveillance system requires attention to detail for each component involved. Start with the lens, as it significantly impacts image quality. Ensure you have the correct replacement compatible with your model. Detaching the lens involves unscrewing any retaining screws and carefully removing it from the camera body. When installing the new lens, align it properly and secure it in place to avoid light leaks that could affect performance.
Next, focus on the camera housing, particularly if it has sustained physical damage. Open the housing carefully, taking note of where wiring is attached to prevent disconnections. Assess the internal components for any signs of wear or damage. If the circuit board or internal wiring has issues, these parts may also need replacing. Use caution while handling internal components to avoid static damage, and ensure all new parts fit snugly within the housing before sealing it up again.
Testing the New Camera Parts
Once the new camera parts are installed, it’s crucial to conduct thorough testing to confirm everything is functioning correctly. Begin by powering on the surveillance system and checking the camera feed for clarity and stability. Ensure the new components, such as lenses and sensors, are correctly capturing and transmitting images. Look for any signs of distortion or lag in the video, as these issues could indicate improper installation or faulty parts.
Next, perform several tests during different lighting conditions to evaluate the camera's performance. Check both daytime and nighttime functionality. Make sure features such as infrared night vision, motion detection, and audio recording are operating as intended. Monitoring the camera's response to movement and environmental changes will help determine if further adjustments are needed or if additional maintenance is necessary.
Ensuring Proper Functionality
After replacing the broken parts of your surveillance cameras, it’s crucial to ensure that everything operates smoothly. Begin by powering up the system and checking the camera feed. Look for any signs of distortion or blurriness that could indicate improper installation. Ensure that the camera lenses are clean and free from obstructions. Conduct a close inspection of all connections to verify they are secure and correctly aligned.
Next, test the functionality of key features such as motion detection, night vision, and pan-tilt-zoom operations if applicable. Activate each option and observe the camera behaviour. It is also beneficial to walk through the monitored area to confirm that the system registers movement accurately. Document any issues encountered during this testing phase, as this information will be valuable for troubleshooting or further adjustments.
Maintenance Tips for Longevity
Regular cleaning of your surveillance cameras is crucial for optimal performance. Dust and grime can obstruct lenses, impairing video quality. Use a soft, lint-free cloth to gently wipe the camera surface and lenses. Avoid harsh chemicals or abrasives that could scratch or damage the equipment. Inspect the cameras periodically for any signs of wear or damage. This can help in identifying potential issues before they become significant problems.
Keeping software and firmware updated is essential for maintaining a reliable surveillance system. Manufacturers often release updates that enhance security features and improve overall performance. Follow the manufacturer’s guidelines to ensure that all components of the system are up to date. Additionally, check the integrity of cables and connections regularly. Damaged wires or loose connections can lead to disruptions in the surveillance feed, compromising the effectiveness of the system.
How to Care for Your Surveillance System
Regular cleaning of camera lenses and housing is vital for optimal performance. Dust, dirt, and debris can obstruct the view and affect image quality. Use a soft, lint-free cloth and a gentle cleaning solution. Avoid harsh chemicals that may damage the camera's surface. Ensure you also check for any signs of wear or damage in cables and connectors, as these can impact functionality.
Periodic software updates are essential to maintain security features and enhance performance. Manufacturers often release updates that address vulnerabilities and improve user experience. Maintain a log of your maintenance schedule to keep track of when your system was last serviced. This approach helps in identifying any recurring issues that may need further attention. Regular checks on the power supply and storage solutions also ensure seamless operation.
FAQS
What tools do I need to replace broken camera parts in my surveillance system?
Typically, you will need a screwdriver set, pliers, and possibly a multimeter for testing. Make sure to have the replacement parts ready and consider using anti-static wristbands to avoid damaging electronic components.
How do I know which part of my surveillance camera is broken?
Common signs include poor image quality, no video feed, or physical damage to the camera. Conduct visual inspections and run diagnostic tests if available, to determine which part needs replacement.
Is it safe to replace camera parts myself, or should I hire a professional?
If you have basic technical skills and follow safety precautions, you can replace the parts yourself. However, for complicated issues or if you’re unsure, it’s advisable to hire a professional to avoid further damage.
How can I ensure that the new camera parts are functioning correctly?
After installation, test the camera by checking the video feed, adjusting settings, and ensuring all features work. It’s also wise to run a full system check to confirm everything is operating as it should.
What maintenance should I perform to extend the life of my surveillance system?
Regularly clean the camera lenses, check connections and cables, update firmware, and inspect the system for any signs of wear or damage. Performing these tasks can help maintain optimal performance and extend the lifespan of your equipment.
Related Links
Essential Tools for Replacing Faulty Surveillance ComponentsIdentifying Signs of Faulty Camera Components in Melbourne
Understanding Warranties When Replacing Faulty Components
DIY vs Professional Component Replacement for Melbourne Cameras
Choosing Quality Replacement Parts for Your Surveillance System
Common Mistakes to Avoid When Replacing Camera Parts
Upgrading Outdated Camera Components for Enhanced Surveillance
Cost-Effective Solutions for Faulty Camera Component Replacement
A Step-by-Step Guide to Component Replacement for Melbourne Cameras